Someone you love has died, and the service is days away. A slideshow has been mentioned, and now it's on your list. You probably don't have time to learn video software, but you almost certainly have a lot of photos.
That's a good place to start. Here's what I've learned makes a funeral slideshow with music, or a tribute video as some people call it, faster and smoother to put together, from four years at Eulogize working alongside funeral directors and supporting hundreds of families through our platform.
The short answer
Gather your photos and choose your song first. With those ready, a funeral slideshow template that times each photo to the music does most of the work, and the whole thing comes together much more easily.
If you'd like a head start, you can create a funeral slideshow with Eulogize for free: browse examples, choose a template, add your photos and music, and watch it back before you pay.
What You Need Before You Start
Your photos in one place, a song (or two), and about an hour of quiet. Putting it together is quick. Choosing what goes in is where the time goes.
Your photos can come from anyone's phone. To build and review the slideshow, a laptop or tablet makes it easier to see the whole thing as you arrange it. You don't need design skills or any experience editing video.
Author's note
When the photos come from across the family, covering different generations, different years and different parts of their life, the slideshow tells a fuller story and connects with more of the people in the room. Gathering them takes a little time, so start early.
Step 1: Gather About 30 Photos
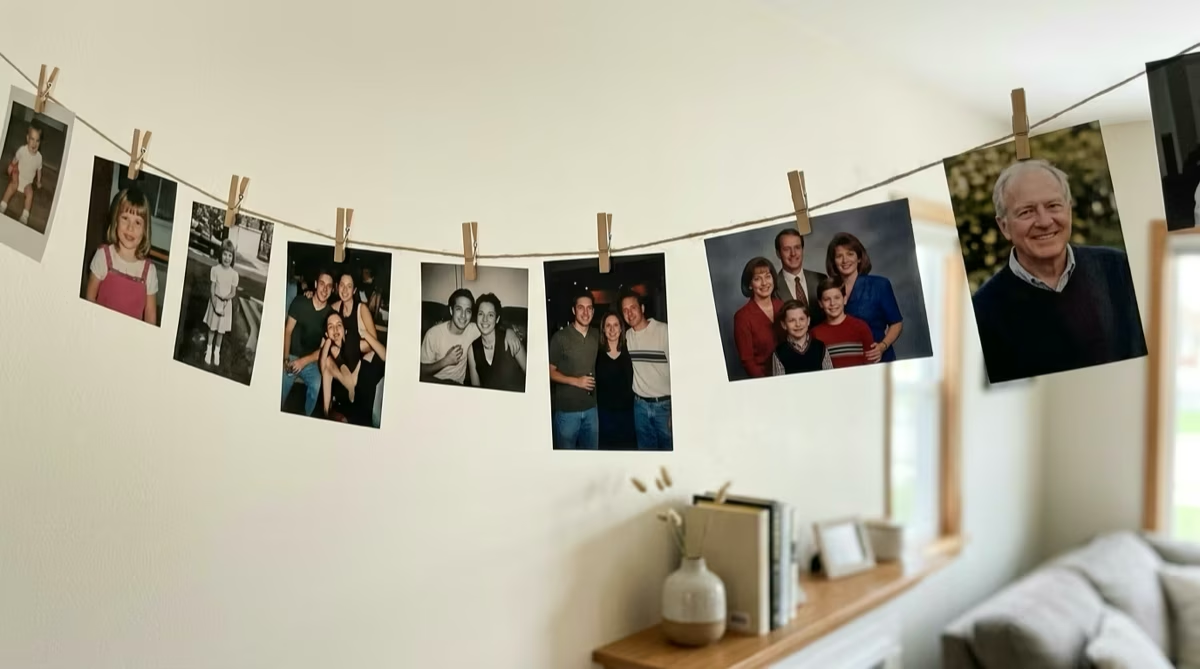
Start with the photos already on your phone. Open the camera roll, search their name in your messages, and scroll back through the family group chat. There are usually more than you think.
Then ask family and friends to send theirs, and make it easy for them. One link that everyone can upload to keeps every photo in one place, instead of scattered across group chats and email threads. In Eulogize, that's a single email invite, and every photo lands in the same library.
It helps to be specific when you ask. "Send me your favorite photos" tends to bring back formal portraits. "Send me three pictures that look like Mom being herself, including an everyday one if you have it" brings back the photo of her in the kitchen with her glasses pushed up, the one that ends up being the best image in the slideshow.
What to look for:
- A few early or childhood photos to begin their story
- Photos from real moments: a wedding, a holiday, a regular Sunday lunch
- One or two candid shots where they look like themselves rather than posed
- A photo with a pet, a hobby, a workshop, or a favorite chair
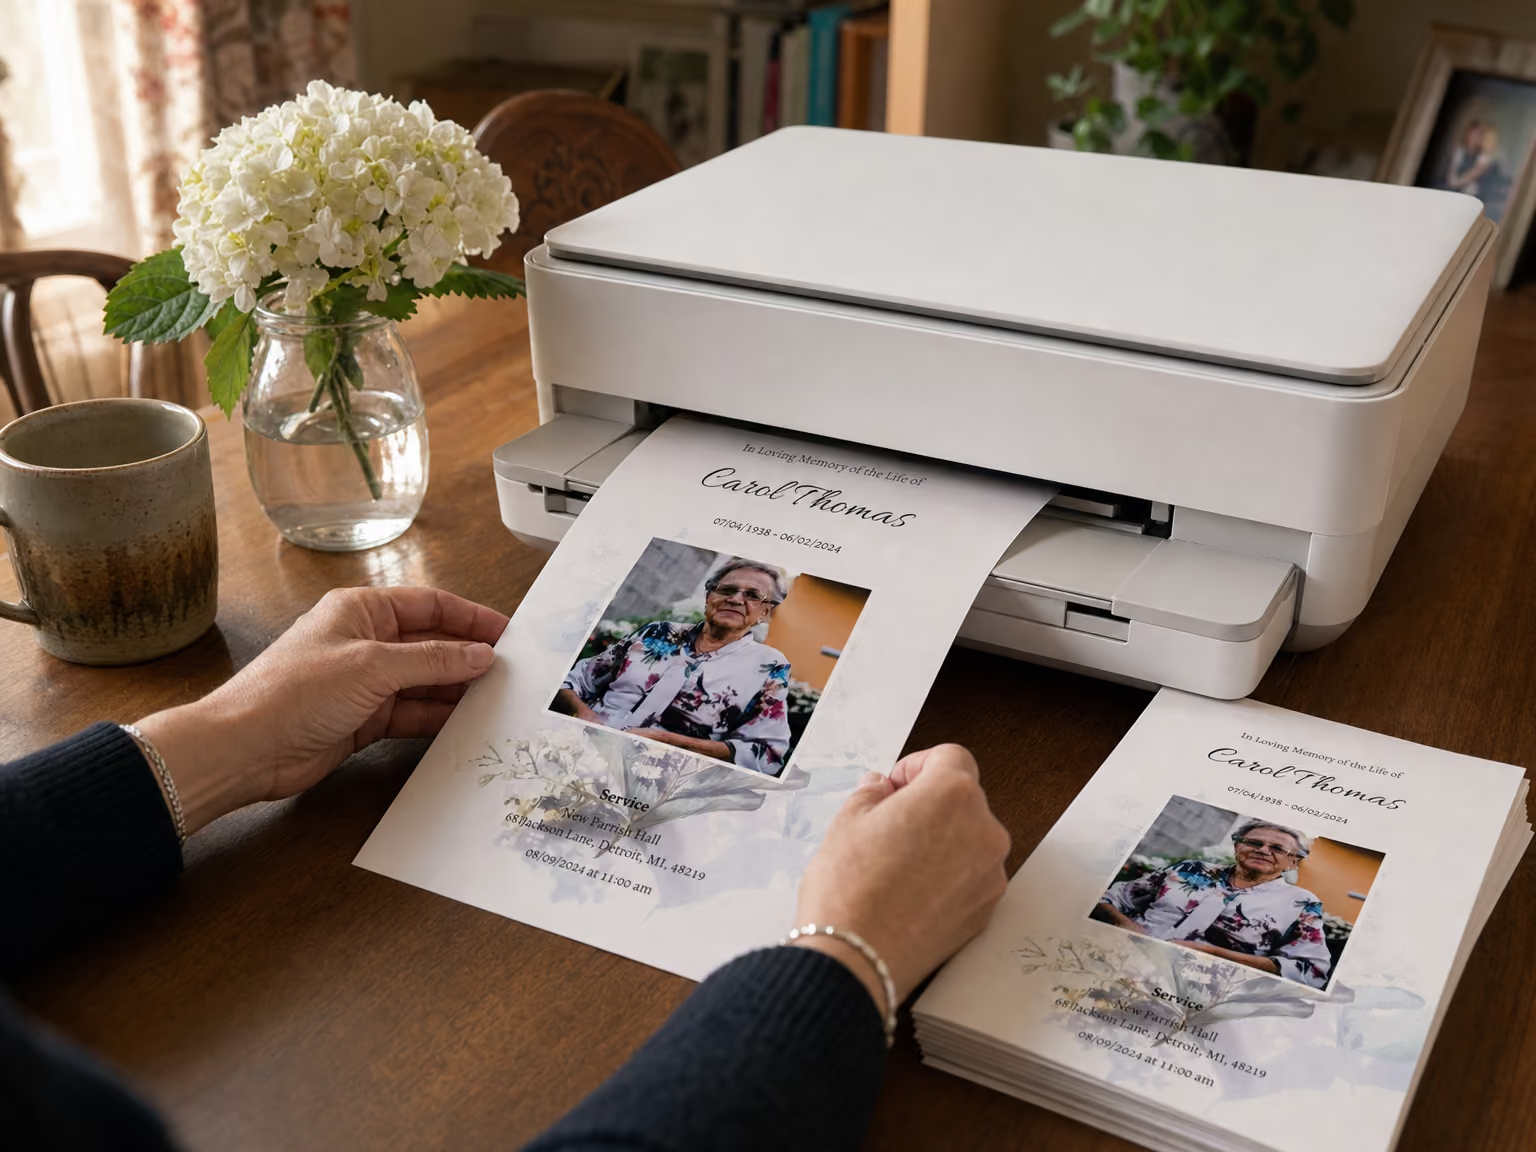
Watch the quality where you can. A photo that looks fine on a phone can look blurry on a big screen, and pictures saved from social media are often heavily compressed, so ask for the original file. For old prints, a phone scanning app does a much better job than a quick snap: here are six apps for scanning old photographs. But if a grainy photo is the one that captures them, use it. A slightly blurry shot of your dad laughing at a barbecue says more than a perfect studio portrait.

How many? About 30 photos suits one three-minute song. We recommend five to six seconds per photo, which gives everyone in the room time to really look at each one and remember the moment. For two songs, plan on around 60. If you have hundreds, having a number in mind makes the choosing easier.
Step 2: Plan the Order
Decide how the story will run before you start arranging. The simplest shape is chronological: early years, middle years, recent years. Some families prefer chapters instead, such as childhood, work, travel and grandkids. Either way, you don't need exact dates. A loose order lets people in the room follow their story without captions or narration.
Once you've settled the order, number the files (01, 02, 03) before you upload them. It saves rearranging them one by one later.
If a few photos don't sit on a timeline, like a place they loved or their handwriting on a recipe card, save them for the end.
If you have several shots of the same moment, keep the one or two that say the most. That leaves room for more of their life.
Step 3: Choose the Music
Most funeral slideshows use one song. Add a second when you have more photos than one song can hold. Pick something that felt like them, or something that feels right for the room.
A few things to keep in mind:
- Let the song set the length. A three-minute song makes a three-minute slideshow.
- Instrumental tracks are the safer choice if you're unsure how lyrics will land.
- If you plan to post the slideshow online, use royalty-free music. Social platforms may mute or block a video that uses a commercial song.
- If you're playing a commercial song at the service, check with your funeral director or the venue first, since the rules vary from place to place.
Stuck? Ask the people sending you photos for one suggestion each. Someone may name the song you'd never have thought of.
If the song has lyrics, listen through once while scrolling your shortlisted photos. A song can sound right and still have one line that lands awkwardly at a service. For more ideas, see popular songs to use in a funeral video.
Step 4: Put It Together
Choose a design that suits them, whether that's soft florals, something classic, or clean and modern. The right look is the one that feels like the person, and it should let the photos lead rather than compete with them. For ideas on what to include beyond photos, like quotes, mementos and places they loved, see 8 tips to create a beautiful funeral slideshow.
Add your photos in order, then your song, and let the photos be timed to the music. If there's one you want people to linger on, like the final family portrait, give it a little longer.
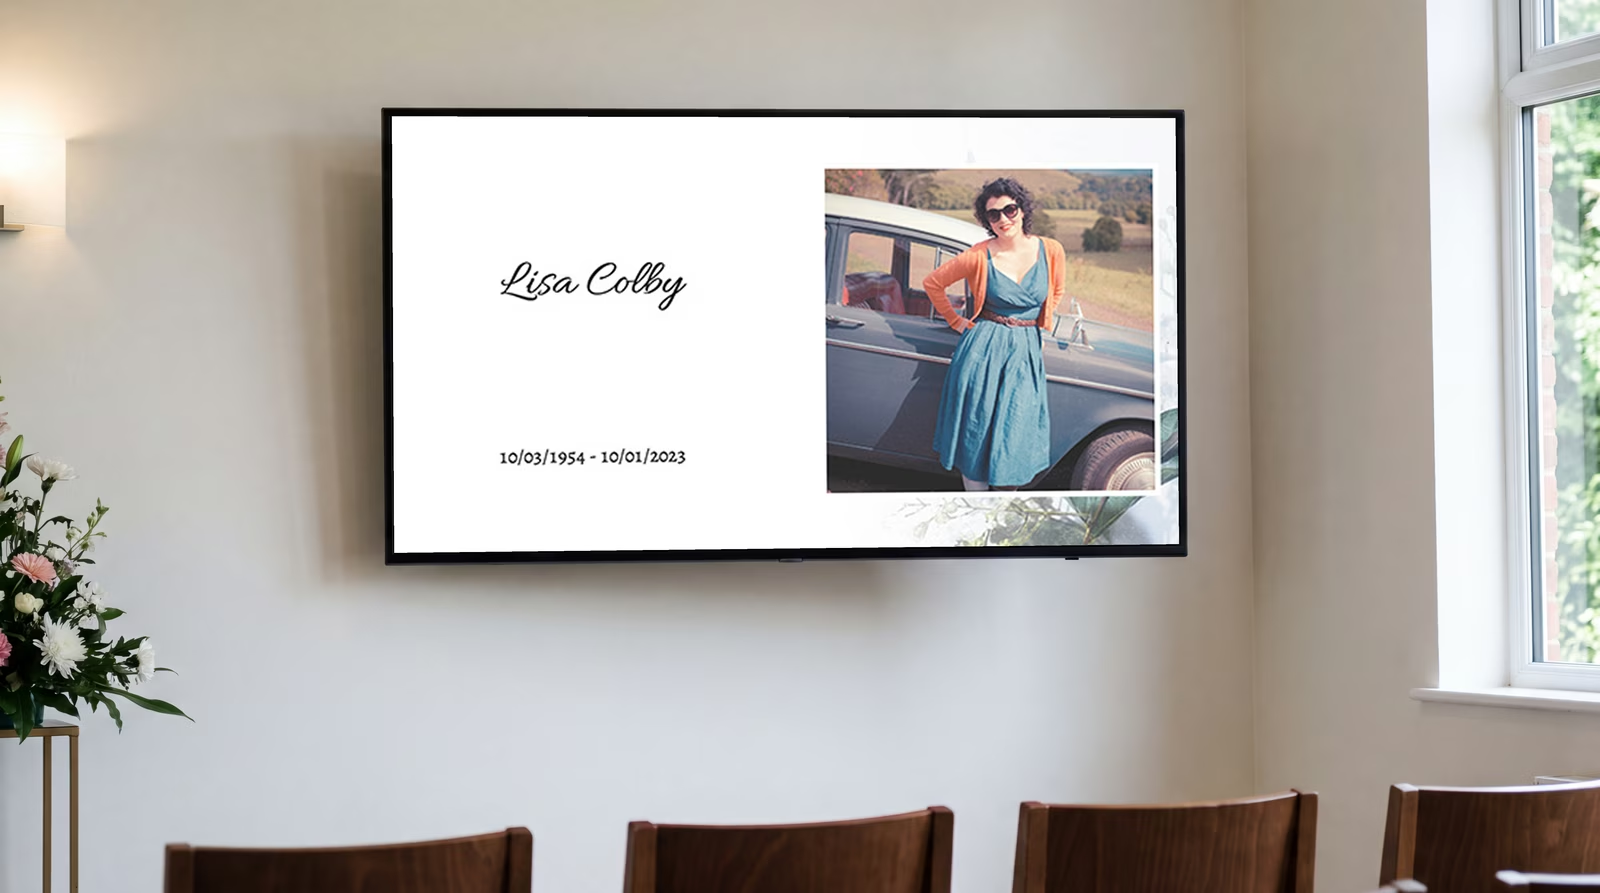
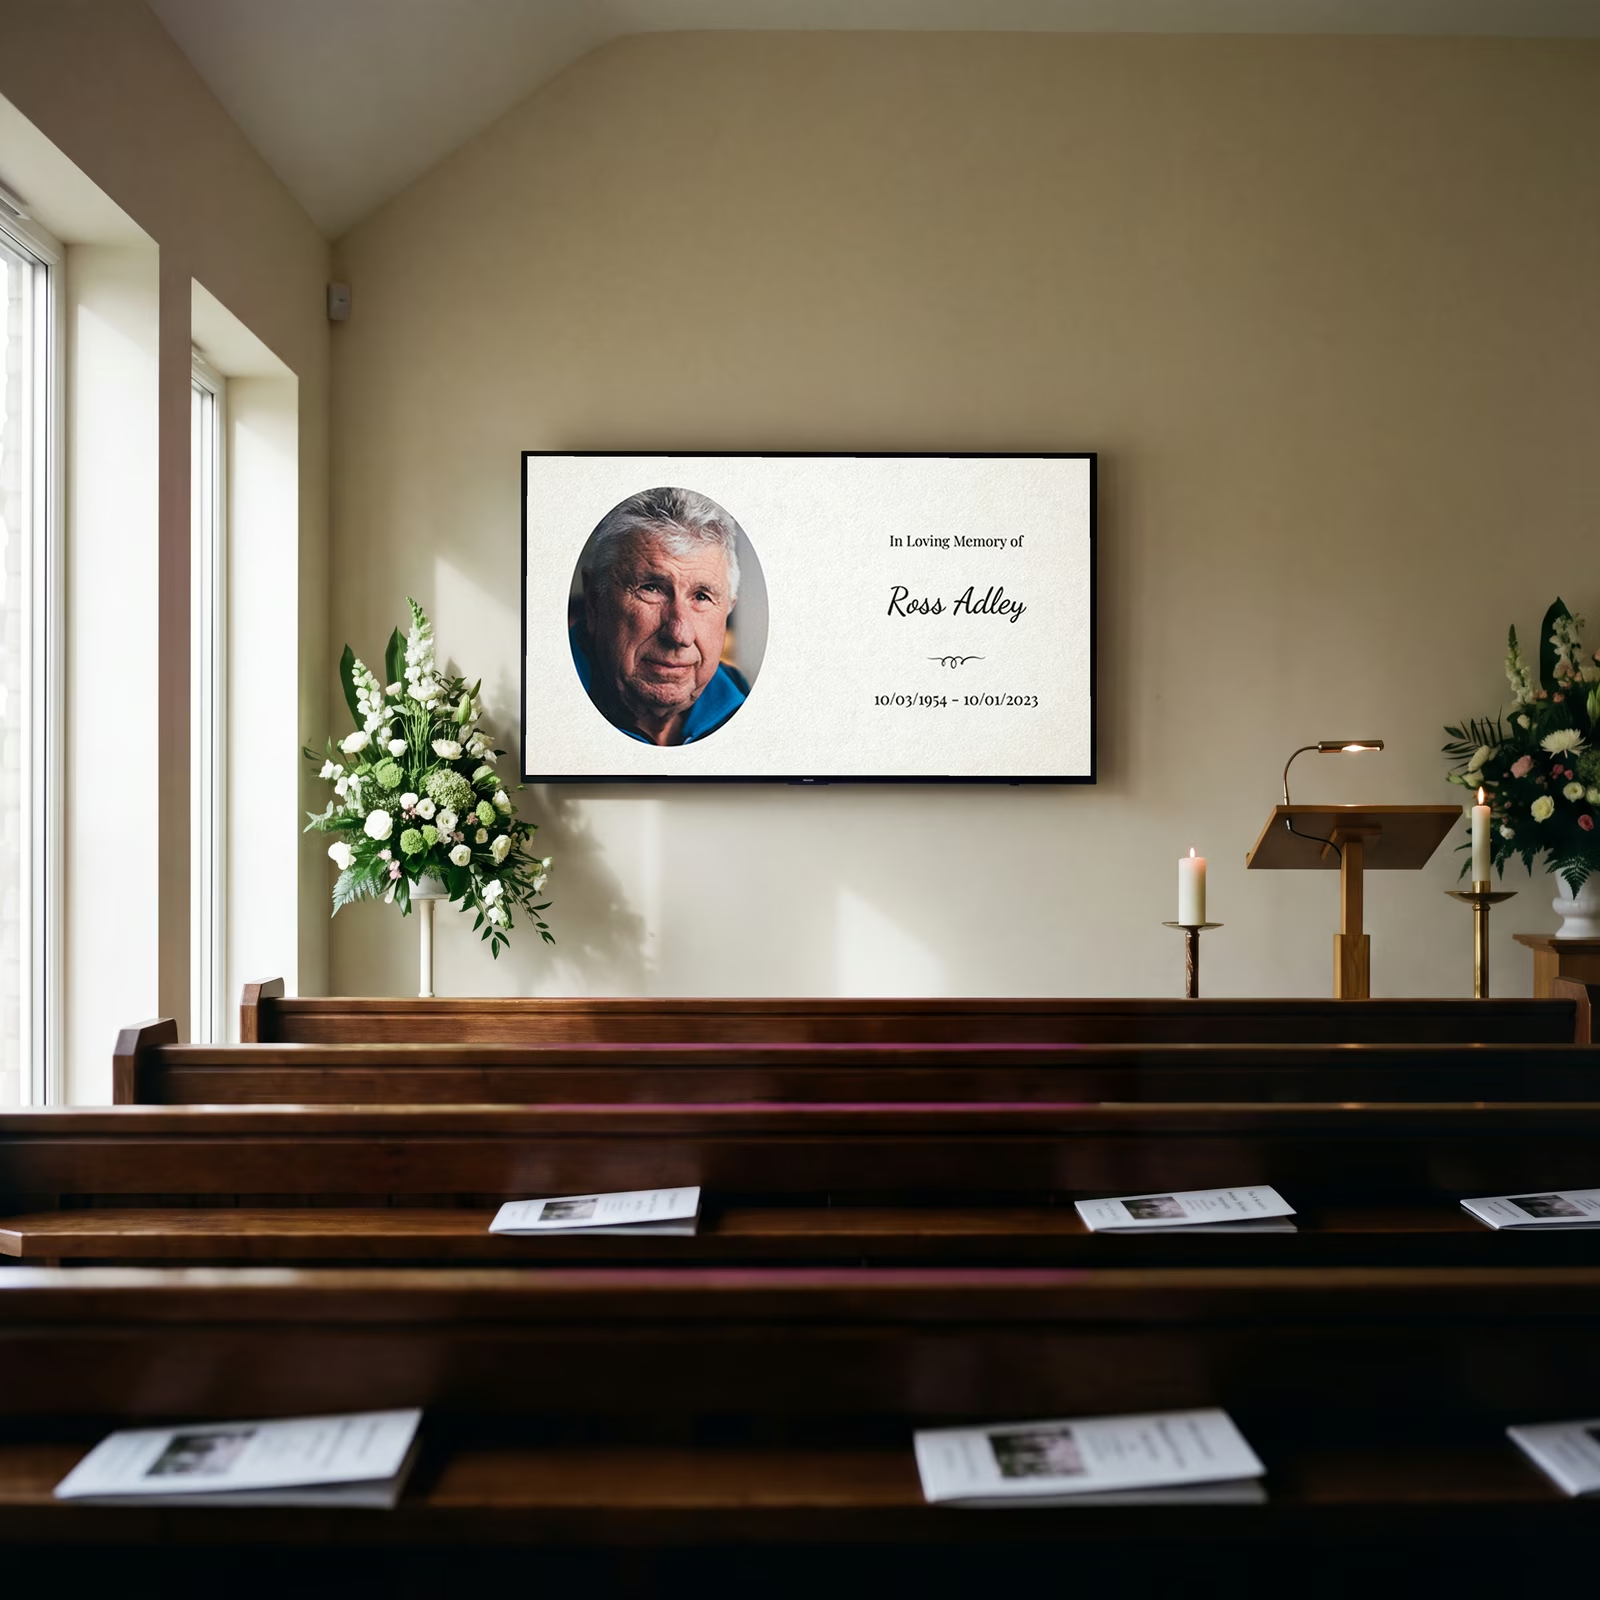
Finish with a title slide showing their name and dates. Save it as an image too: shown on the screen as guests arrive, it makes a simple welcome screen before the service begins.
Step 5: Check the Length and Preview
Before you finish, ask your funeral director, celebrant, or whoever is running the service how long they've set aside for the slideshow. It's worth asking early. Funeral directors regularly tell me about slideshows that arrive much longer than the time allowed, which can lead to compromises on the day.
Then watch the whole thing end to end before you save it. You'll often spot several very similar photos, or a lot from one point in time, that you can cut back. Check the name on the title slide and the order of the photos while you're there.
Share a preview with close family before it's final. A second pair of eyes catches the misspelled name or the missing photo.
Save the finished video as an MP4, which plays on almost any TV, laptop, or chapel screen. Share it with your funeral director or celebrant by email a day or two before the service so they can check it plays on their screen (if you made it in Eulogize, you can send it straight from there), and keep a copy on a USB drive as a backup. Send it to family who can't be there, too, so they can watch it at home.
If you have far more photos than the service needs, make a second, longer version to play on a screen at the reception, a celebration of life afterwards, or back at the house. People drift past and catch different moments, and a longer slideshow gives more of them a chance to see themselves in it.
Related reads: more ideas for the steps above.
- 8 Tips to Create a Beautiful Funeral Slideshow
- Popular Songs to Use in a Funeral Video
- Top 6 Photo Scanning Apps for Funeral Slideshows
Make it with Eulogize
Turn your photos and song into a funeral slideshow
Choose a funeral slideshow template, invite family to add their photos, and pick a song from our royalty-free library or upload your own. Every photo is timed to the music, and you can preview it free before you pay.
Start your slideshow free